Demo Flow: Customer eKYC
A complete Customer eKYC onboarding flow, and an example of what you can build with Assentify in under an hour, with no code. See the flow you assemble, what your client experiences on their phone, and what happens the moment they submit.
Built in under an hour · No code · Mobile firstWhat this sample is
This is one flow that takes a new client from a link to a fully screened, scored, and stored client record. It is deliberately ordinary: exactly the flow a bank, a wallet, or a lender would stand up for account opening. The point is that you build it yourself, visually, in well under an hour, and change any part of it whenever your policy changes.
Built with no code
Drag blocks, add steps, set a few toggles. No development cycle, no release.
Under an hour
A working, brandable, compliant onboarding flow from an empty canvas to a live link.
Compliant by default
Screening, risk scoring, and an audit trail are part of the flow, not bolted on later.
The flow you build
In the Flow Builder you chain the blocks and drop in the client facing steps. The Engagement Block holds this exact sample: Informative Onboarding, Identification Document Capture, Face Image Acquisition, Assisted Data Entry, Document Capture, and Context Aware Signing.
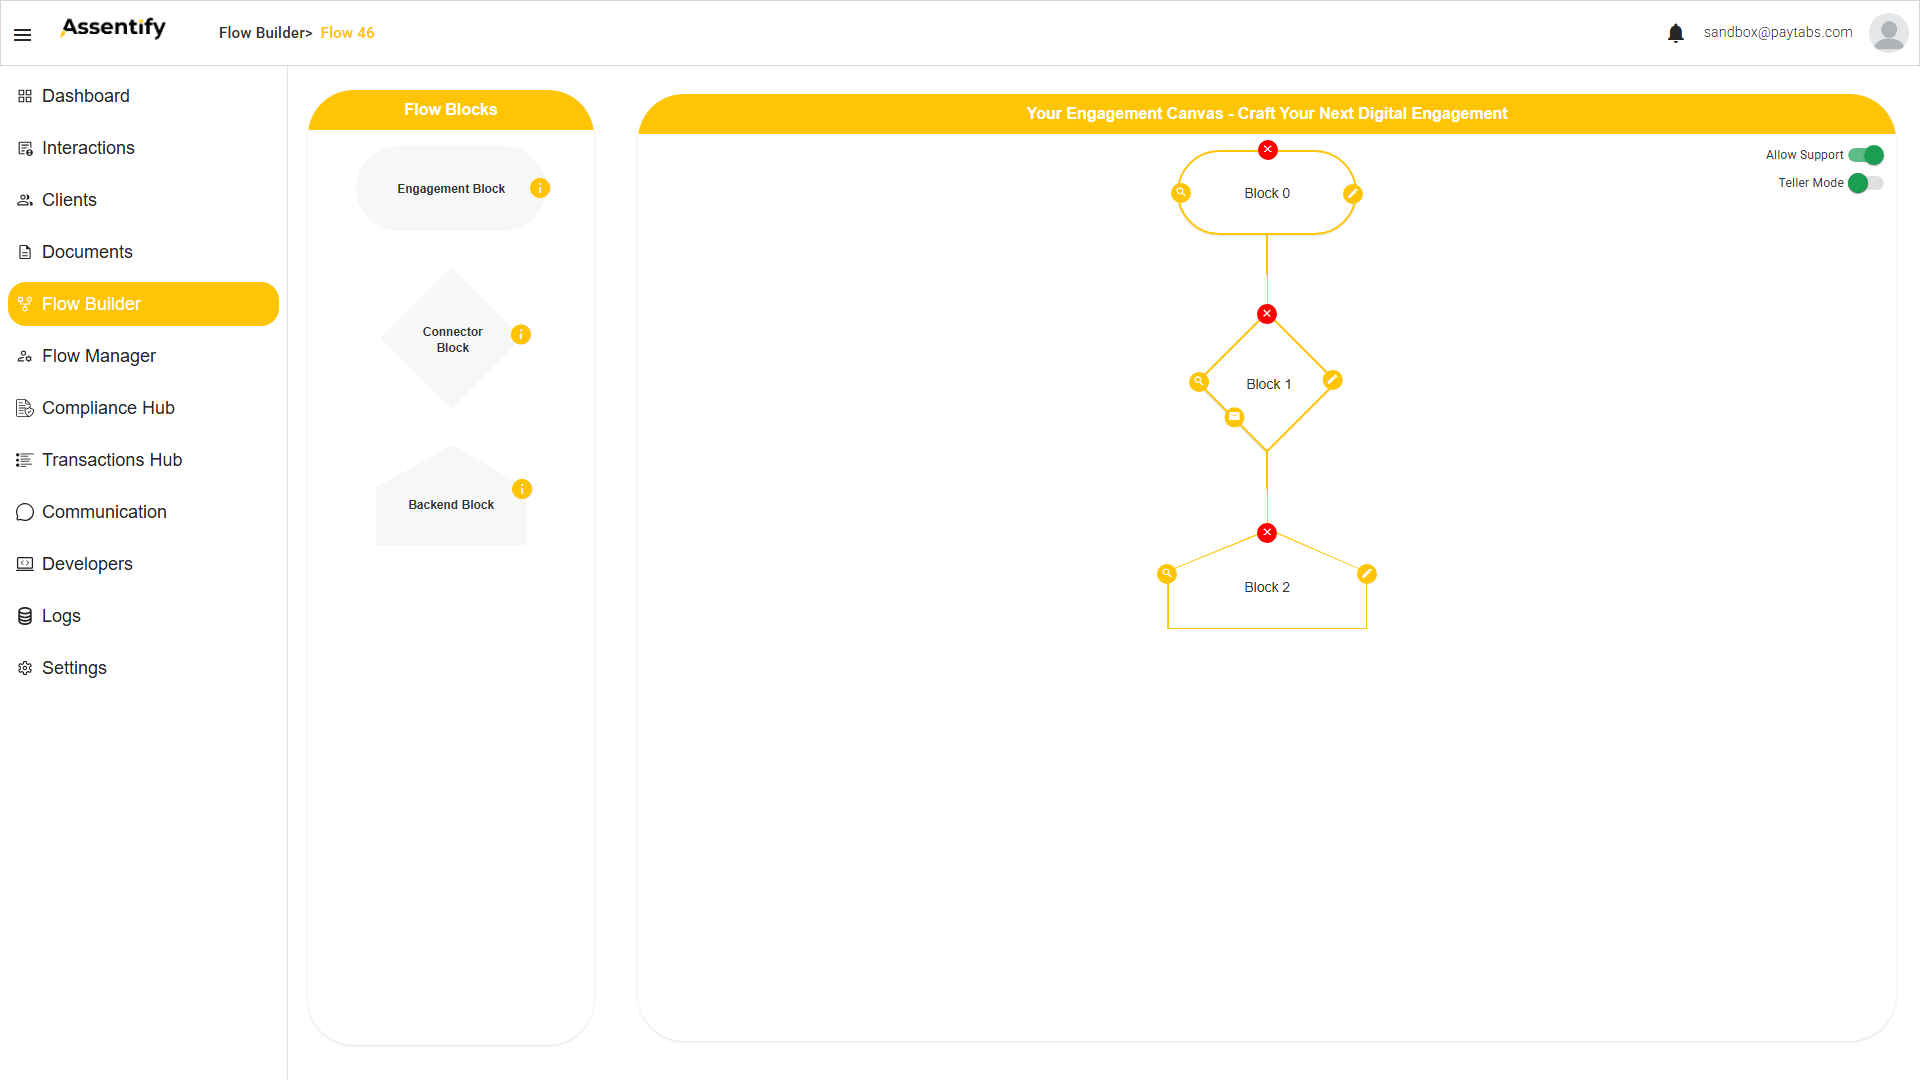
For a maker-checker onboarding with a webhook on client creation, the sample grows into a five-block chain with two approvals. The verified sequence is:
- Engagement Block: the branded client journey above.
- Connector: routing and notifications into the first review.
- Backend Block named for Customer Service: the maker, or first approval.
- Connector: routing into the second review.
- Backend Block named for Compliance: the checker, or second approval.
- Connector that creates the client record and fires the webhook into your core system on creation.
The platform sets each new block's type by sequence automatically. You click the green + once per block, and the type alternates Connector, Backend, Connector, Backend. You do not pick a type. To label a Backend, double-click it and use the Block Name input, not a type selector. See block branching and the glossary for block types.
What your client experiences
Your client receives a link or a QR code and opens it on their phone. The journey is branded, mobile first, and usually takes two to three minutes.
For a fresh start, generate a Limited Use Link on the published flow. It mints a new interaction per use and opens the flow at step 1. The default Digital Engagement Link and a Regular special link both resume the flow's existing interaction. A client can then land on the end screen with nothing to do. Use the Limited Use Link when each client should start clean.
1. Welcome
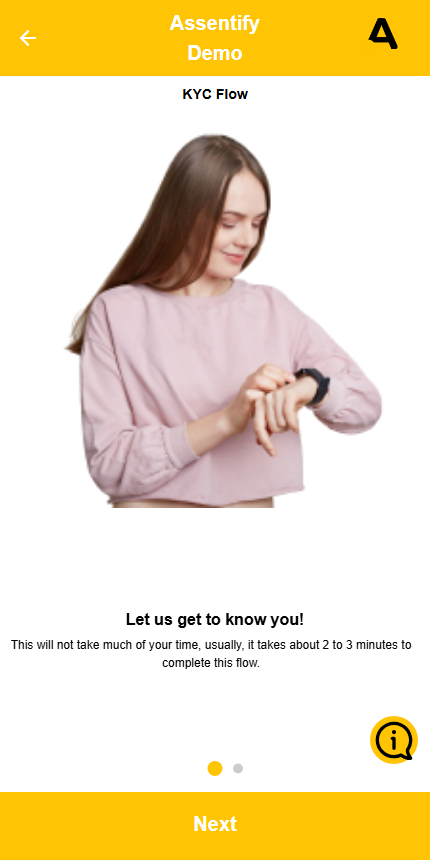
A branded welcome sets expectations in one screen: what this is, and how long it takes. The client taps Next.
This is the Informative Onboarding step. You can add multiple pages, each with a header, a message, and an illustration.
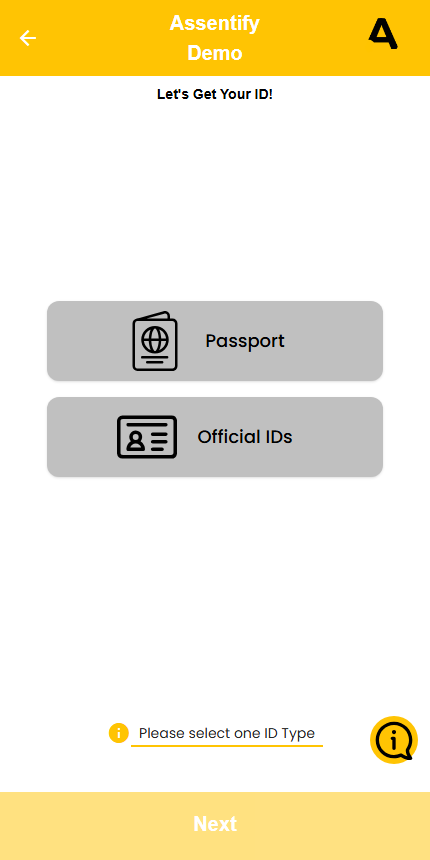
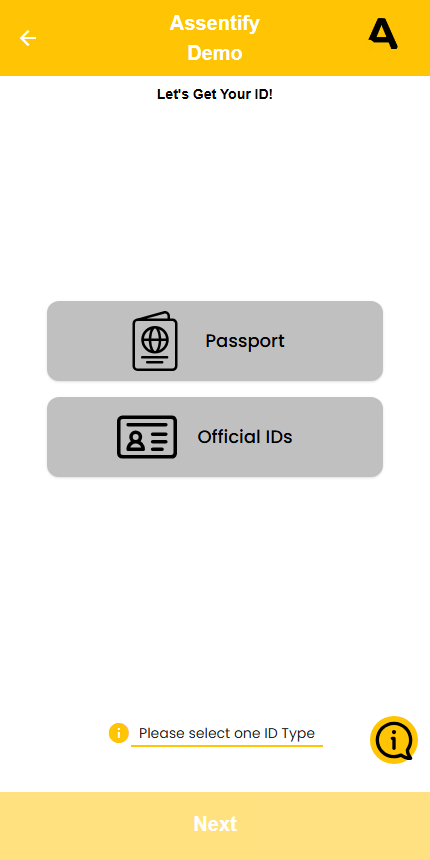
2. Choose an ID type
The client picks the document they will present, for example Passport or Official IDs. The Next button stays inactive until they choose.
This is the Identification Document Capture step. You decide which document types are allowed and whether the step can be skipped.
3. Capture the document and a selfie
A live camera opens with a simple checklist: prepare the document, align it, hold still until automatic capture. Each item turns green as the phone detects the document, then it captures on its own and reads the fields with OCR and MRZ.
Face Image Acquisition works the same way for a selfie. Liveness detection proves a real person is present, then matches that face against the one on the ID.
4. Confirm details, sign, and submit
The client then confirms a short form in Assisted Data Entry, pre-filled from the ID so they mostly tap to confirm rather than type. The pre-fill comes from a Mapping Key on each field that pulls the matching OCR or MRZ data point from the ID step. A field can be one of 14 input types, for example Text, Date, Nationality, Phone Number With OTP, or Upload Document. It can be Mandatory, carry a Placeholder, or apply Regex, Transliteration, or Translation. Depending on the flow they upload a supporting document, accept terms, and sign a generated document with Context Aware Signing. When they finish they see a branded Thank you screen, and the interaction is submitted.
What happens the moment they submit
The captured data flows into the platform automatically. In one pass the flow:
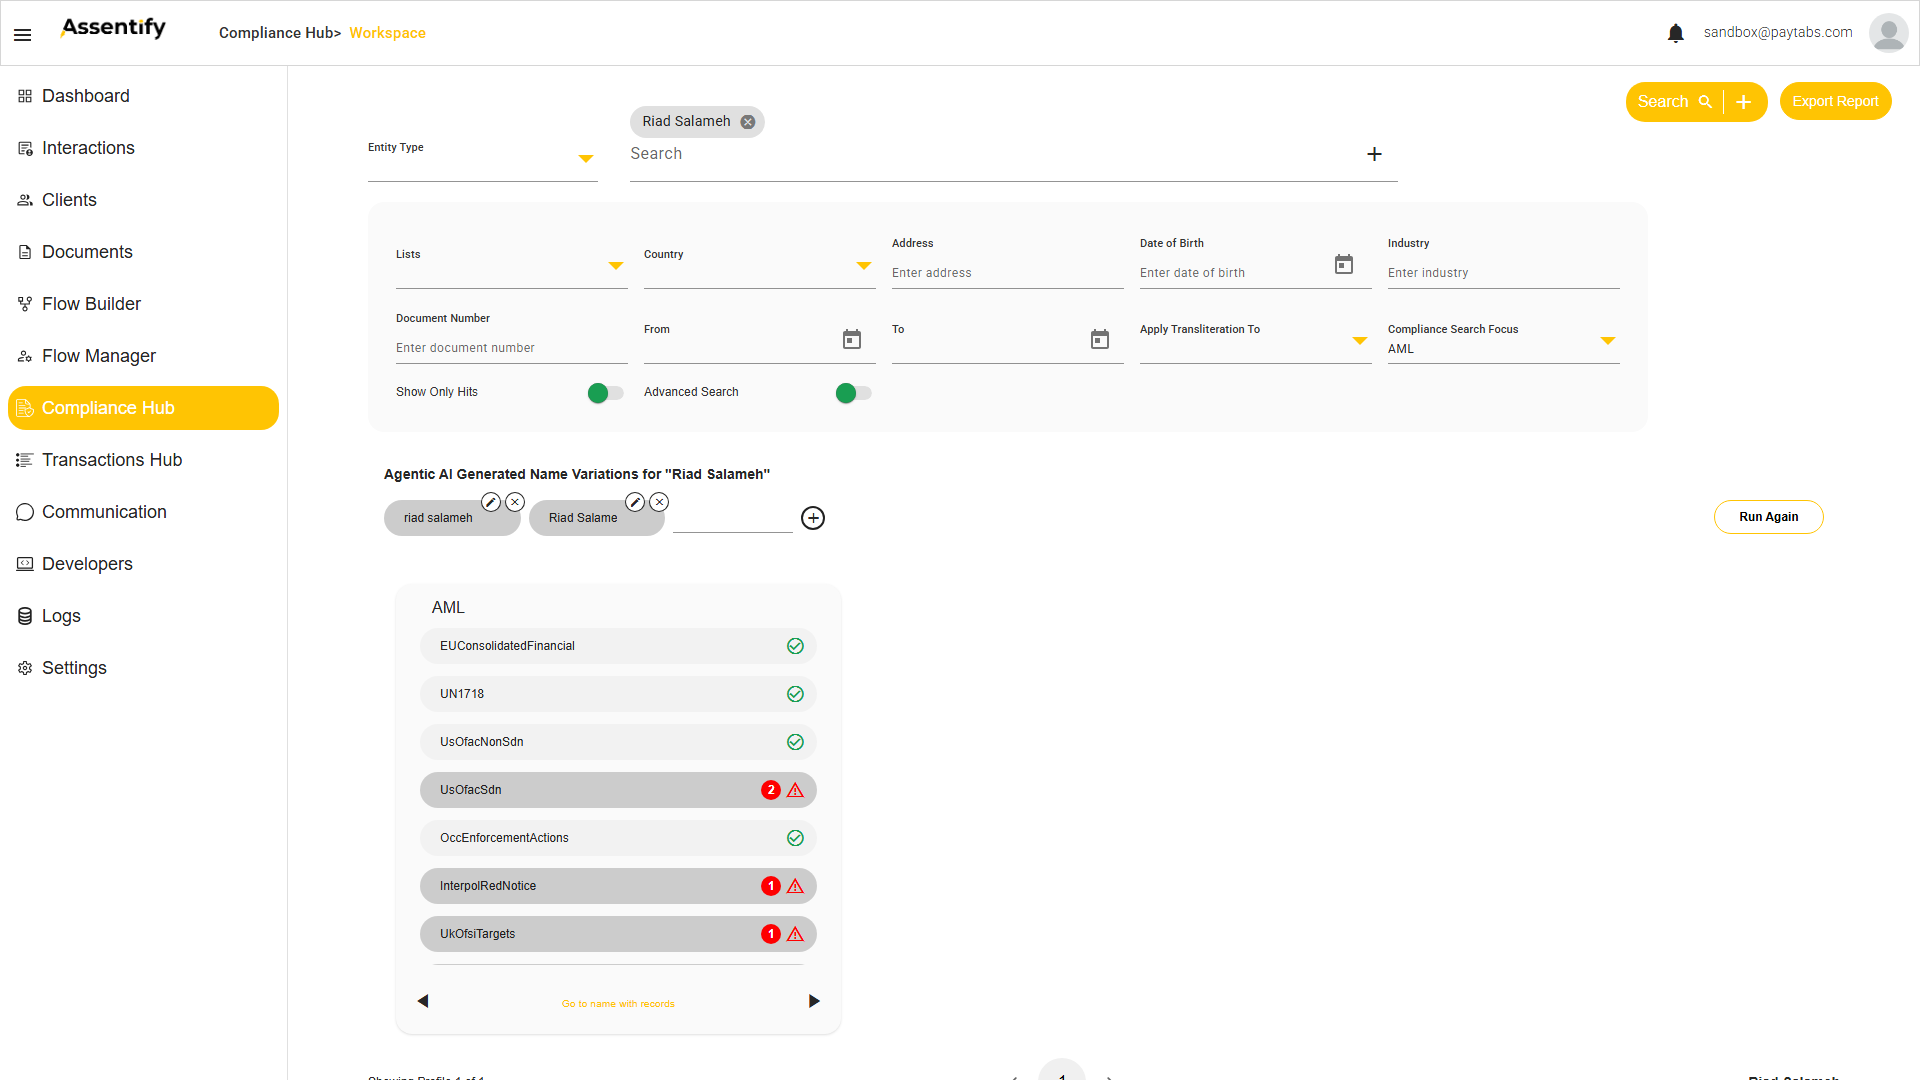
- Screens the person against sanctions, PEP, and watchlists in the Compliance Hub.
- Scores their risk with the Risk Based Approach.
- Creates a client record in the Clients register, with their KYC and AML status.
- Routes the application through the chain. The first Backend Block named for Customer Service is the maker, or first approval. The second Backend Block named for Compliance is the checker, or second approval, where a match stops it for a compliance officer to adjudicate.
- The final Connector creates the client record and fires the webhook into your core system on creation.